People who take up real-estate photography have an eye for detail by nature. You would think then that they have no trouble organizing a home studio or merely storing photography equipment at their homes. However, the reality could not be more different because photography is a huge burden, quite literally.
Accessibility is key
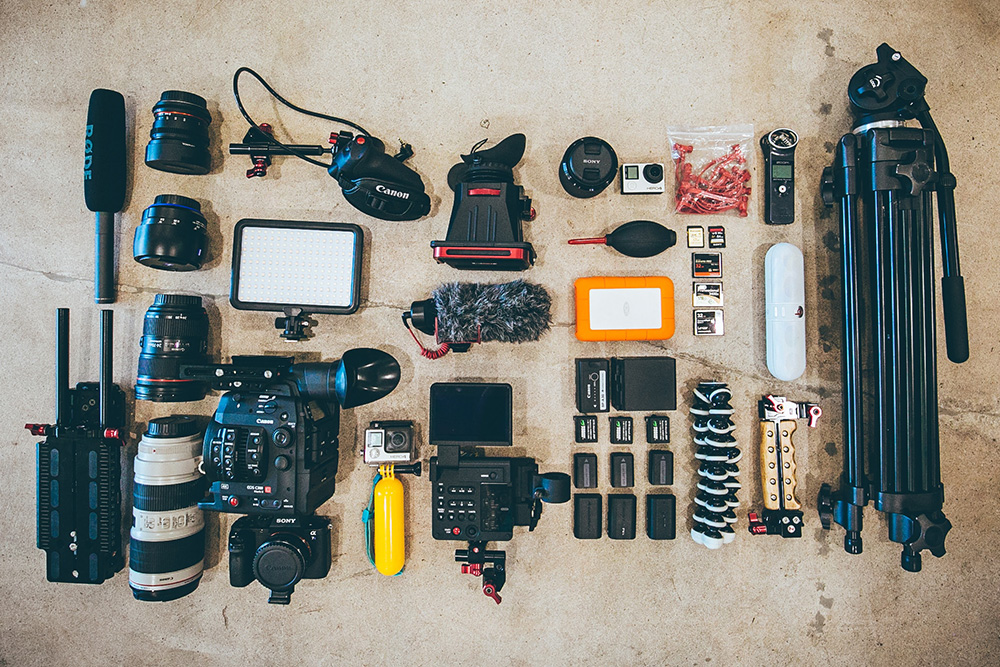
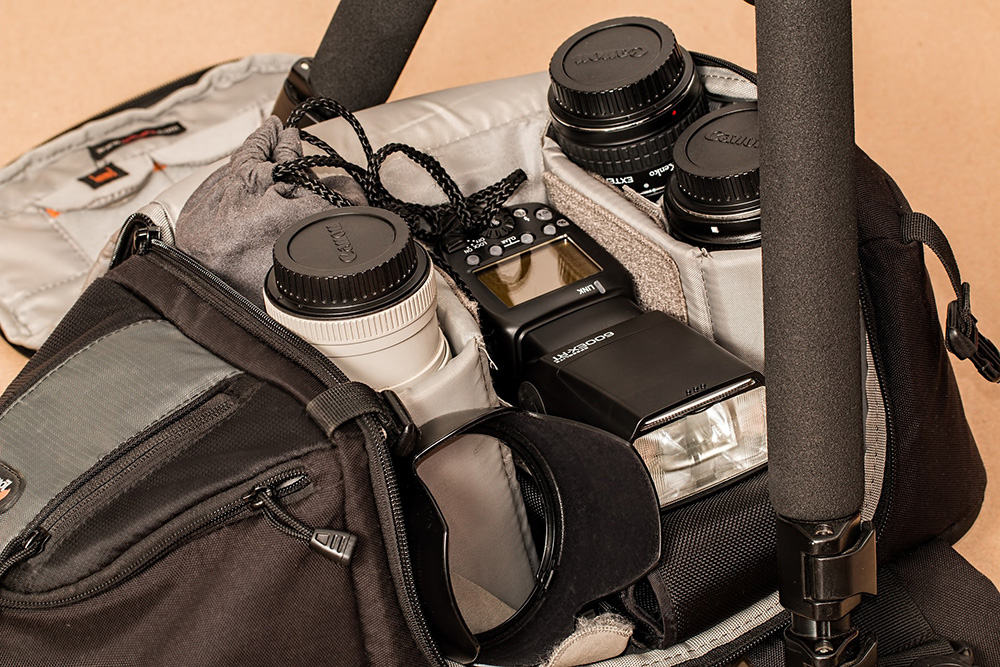
Apart from the camera, there are many tripods, sheets, caps, and who knows what the needs to be stored properly. Just like a mechanic’s shop, a home photography studio needs to have shelves, bins, and drawers that hold all the equipment within a hand’s reach. Accessibility is an essential factor in storing photography equipment. Due to its fragile nature, lenses and other equipment also need to be stored safely, so it is inaccessible by children and away from moisture. If you are genuinely a fan of photography and are making money from your hobby, then a small investment in equipment storage should not come hard on you.
Where to place the backdrop?
In terms of size, the backdrop is by far the most substantial part of your home studio. Your private stage for photography takes up an entire building in case of the theater, but you don’t a single room to spare. That’s why a retractable canvas, i.e., a backdrop is what you need. It’s relatively easy to install and operate because it functions like an oversized retractable curtain or an awning.
The backdrop will be lowered while you are having a photo shoot, but it would retract afterward, freeing up that entire section of the wall. The best fabric for the backdrop is muslin or silk, as they have an elegant shine. In terms of colors, choose any color you like, make sure it is only one color you want. Opt for neutral colors like white or light blue (but you already know this, right?).
A bench for storage
Although the studio is inside your home, this doesn’t mean that you won’t have clients, models, and fellow photographers over. They need a place to prepare if they are part of that day’s shooting and the kitchen stool won’t do the trick. What you need is a proper bench that is comfortable to sit on and a vanity mirror.
Now, these sound bulky if we consider that you are trying to cut down on space for the studio inside the house. However, a bench will prove to be a space-saver. Not only will your colleague and partners have a place to sit while they wait or prepare, but you’ll get extra storage space. That’s right, strobe heads and tripods can go underneath the bench, in a particular storage unit you’ve carved out. The larger and the more comfortable the seat, the larger the provisional cupboard you get.
A million little pieces
Now that you’ve taken care of the most cumbersome parts of your photography equipment, it is time to deal with the small pieces. We are not referring to the laptop with a photo editing or the camera itself but the most minuscule of parts. You probably know the paraphernalia that your camera came with, like clips, spare batteries, memory cards, and those miniature remotes and switches. It’s nothing to be ashamed if we don’t know for what every single piece is intended. However, the fact that you have to store them someplace remains.
You might have noticed how people use those large shelves with plastic bins in their garage for storing tools. Well, that’s what you want to get but instead of plastic containers, use sturdy wire bins for safety reasons. Some pieces of photography equipment are rather heavy, such as flashes and chargers, so they should be in a meshed steel bin than in a plastic bin of dubious quality. Also, these wire bins are ideal for storing miles of cables.
Side pockets
Wire bins are enough to store at least 2/3 of the less bulky equipment, but they are not suitable for minuscule objects we spoke about earlier. These should go on the sides of the shelf. Small pockets made from fabric should be nailed to the sides to store memory cards and USB sticks. In other words, smaller items that you use daily
Labeling does help
Alongside their questionable size, photography parts come in large numbers. Just think of the number of lenses that you need to store and retrieve during a photo shoot. While you have a model inside your house, you cannot afford to rummage through bins and drawers, so you require a more effective method. Labeling might seem childish at first, but post-it notes are quite helpful.
There are several ways you can categorize storage space. For once, you can use plain colored papers without any writing on them. This method is visually more appealing, but it can confuse other people. If you have visitors over often, then notes with simple phrases like memory sticks or lenses will turn them into your assistants.
Wrapping up the issue with cords
Remember how we mentioned earlier that you own a good mileage of cords and cable of various types? Wire bins are ideal for their storage because you can keep them separate, thus preventing entanglement. Roll the larger cords into bundles and tie the smaller ones with a twist tie to prevent them from spreading all over the place.
Conclusion
As you have seen, organizing your photography equipment in the home studio is not that hard. The key is that every piece of equipment has its place and label.
Ron Wolf
Related posts
1 Comment
Leave a Reply Cancel reply
This site uses Akismet to reduce spam. Learn how your comment data is processed.


[…] and should be taken for a walk or to a relative before you start your work. Not to mention that your photography equipment would not be very safe around dirty paws, wagging tails and sharp […]