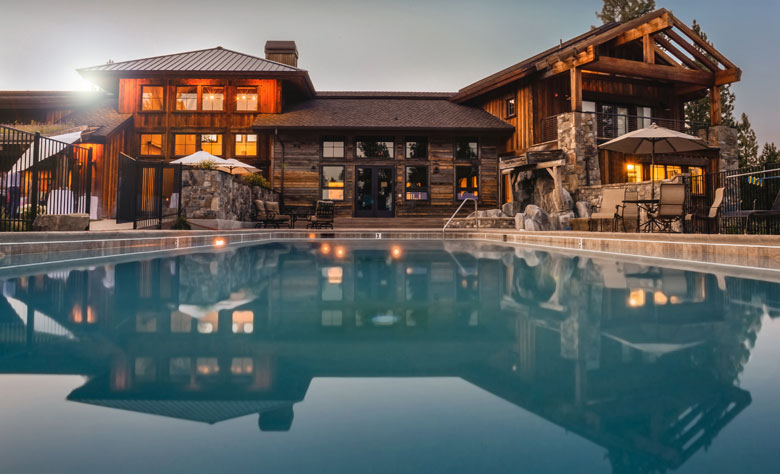
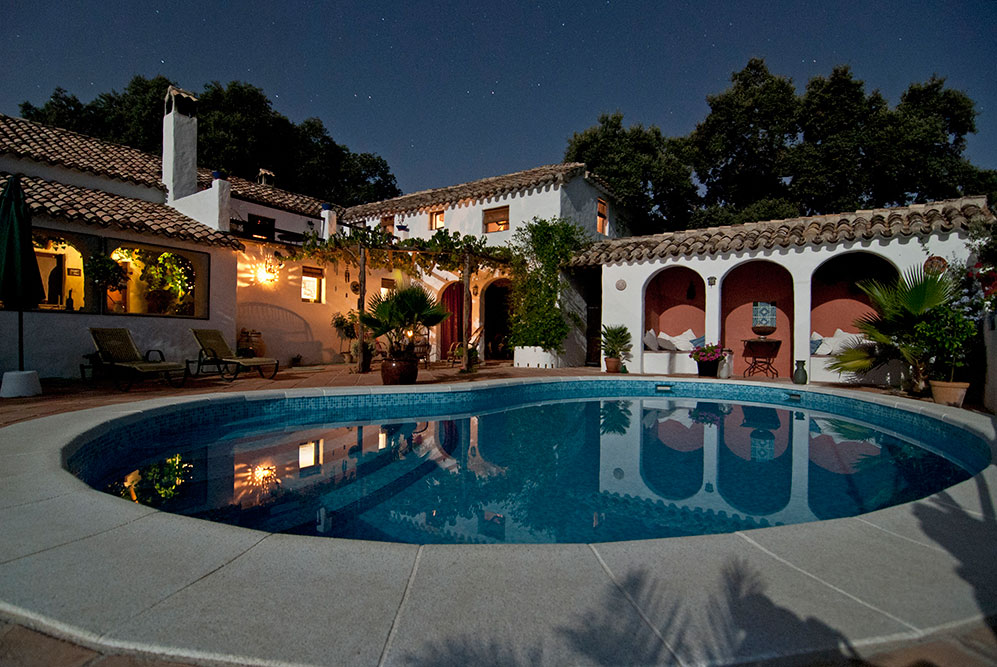
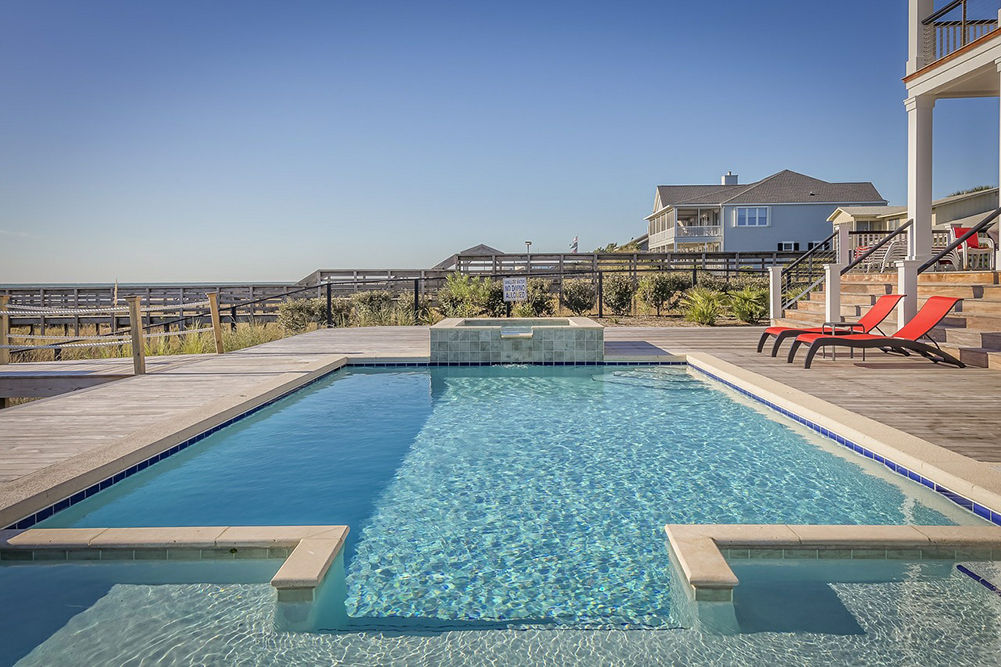
Exterior pictures of a property are just as important as the interior ones: no question about it! Sometimes, even more so, because first impressions matter and a buyer can be put off by an untidy landscape or a sloppy lawn – it’s exactly like meeting someone for the first time. But when it comes to photographing outdoor swimming pools, things can get wet and slippery… There are so many things to consider, that you might even develop aquaphobia. No worries! We’re going to tackle every issue and show you the best angles to approach this task.
Location, location, location
First thing’s first: before visiting the location, Google it or find an app that can tell you the magic hours for that particular real estate property before getting all your gear in the car. You never know if you might need a lighting umbrella or not. If photo shooting the pool is your main task, you will want to know its location in relation to the house and how the basin is constructed. Material matters, too. Concrete, natural stone and tile reflect light in completely different ways. It might seem a lot, but knowing your subject well is the golden rule of real estate photography.
Morning, noon or night
Complete your research with a field trip and check out the place at different times of the day just to find out which lighting will give you the best background. Now it’s also the time to decide on a viewpoint and discover the best angles. If you’re shooting at night, be sure you have the option of turning on the pool light.
Generate a composition
Swimming pools create a tranquil atmosphere, reflect the light and compliment the surroundings, if they are in pristine condition. It’s your job, as a real estate photographer, to bring out the best of every detail and make the pool a big selling point for the property. When on site, try to remove any unneeded distractions that might ruin your composition. Is there any pool furniture? Will it complement the photos or not? If not, move it around until it does. Make sure that the water is fresh, with nothing floating around, and all the surrounding areas are squeaky clean. Your picture should be almost perfect before hitting the shutter button. Saves a lot of Photoshop time…
Balance everything out
Another important detail to take into consideration is condensation. If the swimming pool is heated and the weather is on the colder side, you might need to give your camera some 15 minutes to adjust before starting the shoot. Swimming pools tend to have strange colors and reflections all over the place, so don’t forget to use the White Balance in-camera setting and a white balance card prior to photo-shooting.
Dive in!
Did you bring your DSLR, umbrella, tripod and filters? Let’s start the action then! From our experience, it’s better to use a tripod when shooting swimming pools, even if hand-holding the camera does produce interesting photos. In this case, low camera position and wide, wide angles lens work best and make the pool seem larger. Try positioning yourself into a corner and take advantage of every square-inch. With that in mind, you should get some close-ups of decorative details in the end, too.
What about filters?
Polarizing filters, for example, can cut down reflections on surfaces, reduce color saturation and are pretty much the only lens filters that cannot be replicated in a photo editing program. If the sun is up and the water reflects too much light, put them to work. They’re very useful if you wish to highlight interesting details from the bottom of the pool, too. Colored light filters, on the other hand, accent lights, add color to the backgrounds and an artistic effect to the whole scene. Blue works great for water and any reflecting surface.
Clean your gear
It doesn’t matter if you got wet or not, you should always clean your gear after photo-shooting a swimming pool with the use of a damp cleaning cloth. The salt in the air, together with all the vapors coming from the pool, form a thin film on your camera that might ruin your equipment over time. It’s quite easy to avoid some of the real estate photography pitfalls.
In the end…
Swimming pools are interesting subjects for real estate photography that can increase the value of a property, if handled correctly. Do your research well, create a composition, lower your camera and let the sunshine in. Not before putting the right filter!
Olivia Kosta
Related posts
4 Comments
Leave a Reply Cancel reply
This site uses Akismet to reduce spam. Learn how your comment data is processed.


[…] speed and predefined aperture settings your camera offers and we have an example for you. Imagine shooting a house’s exterior and trying to focus on a particular subject, perhaps a stone bench, on a slightly windy summer […]
[…] interiors when the sun is overhead. Leave the garden, pool and back terrace for the afternoon and don’t forget to use filters to cut down reflections on […]
[…] Sunrise and sunset are your typical HDR subjects but their exposure conditions exceed the tonal range of an ordinary camera. Therefore, to include the bright highlights, mid-tones and shadows in the picture, exposure bracketing is an absolute must. Set your camera to aperture priority, the exposure time on manual, and activate exposure bracketing if you want to minimize digital artifacts. Play with the exposure value and go for a big difference in stops, say +/- 2EV. After all, you’re preparing for a high dynamic range image. […]
Wow, that is a really awesome way of thinking about it! I really like your writing style. I could not refrain from commenting. Your blog is really useful.