
Renovating is always exciting, but it can be equally stressful for homeowners. Projects big and small will always leave you with a mess on your hands, and if you are renovating to add value to your home in order to sell, you will want to make sure it is absolutely spotless before you even begin looking at the task ahead. From large bits of debris to the smallest particles of dust, cleaning after remodelling or renovation is a head-spinning task. Here are 6 handy tips to help you get on your way. Good luck!
The Spiral Technique
Some people have different preferences for the way they clean, but whether it’s sweeping the floors or cleaning after a big renovation, it’s always best to start from the outside and work your way in. If we are not taking into consideration the garden (we’ll get to that later), then starting with the walls and roof is always very practical. Using a broom with a damp cloth attached is a good approach for cleaning your roof (note: don’t forget to attend to lights, fans, cabinet tops and other high up surfaces – these can be hidden refuges for dust that can haunt you in the future). For the walls, take a damp cloth and wipe down every surface thoroughly using your hands. Make sure you wipe mirrors, door handles, light switches and hand railings too.
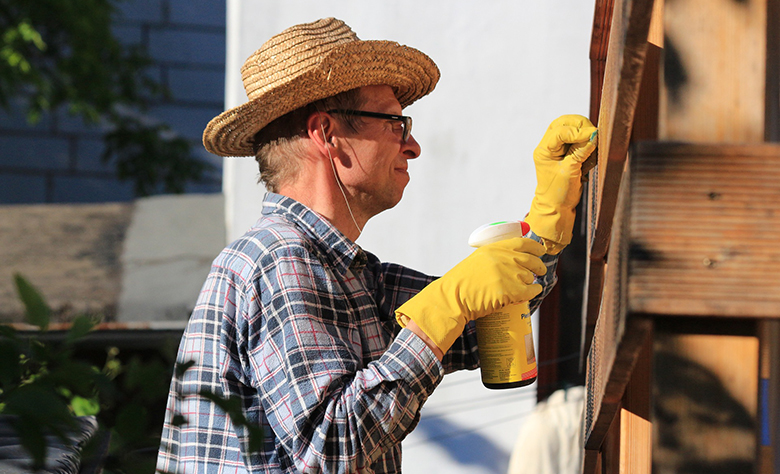
The Trouble Surfaces
Once you’ve thoroughly dusted your house, the next step is to take care of the larger bits of debris that may give you grief in the future. These include small, flaky bits of paint, adhesive or other building materials that may be on your walls. This can be a painstaking process, especially for larger projects, but it’s an important step in making sure your house is absolutely spotless and ready to sell. Take a paint scraper or small knife and closely inspect walls, new fixtures, skirting and other surfaces and get rid of anything that could end up on the floor in the future.
The Furniture
Much like light fixtures, fans and shelf-tops, furniture can harbour huge amounts of dust and debris. For large projects, there’s a good chance that you have covered your furniture. However, dust has a way of getting on everything, so you should still give all furniture a thorough cleanup regardless. For hard surfaces, a damp cloth is your best option. Make sure you take books off bookshelves, remove any ornaments or photo frames on shelves, and get in those hard to reach places like behind your TV. For couches, take off the cushions and give them a good dusting outside.
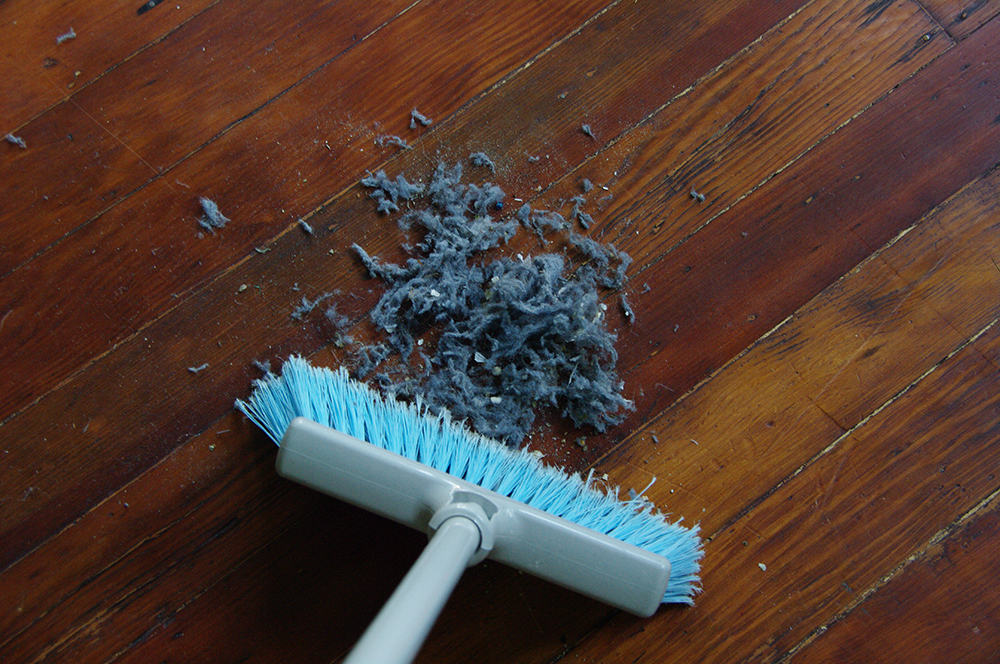
The Floors
After cleaning the roof, walls and furniture, your floors will probably look like a battlefield. Don’t worry though, now you know that everything is in one place – the center of the spiral is the easiest to clean. Sweep to get rid of the majority or dust and debris, making sure you get into every nook and cranny. Next, vacuum to remove the smaller particles (this is just as important as sweeping). Before you mop, sweep and vacuum once again – you will always find more. Now you are ready to mop.
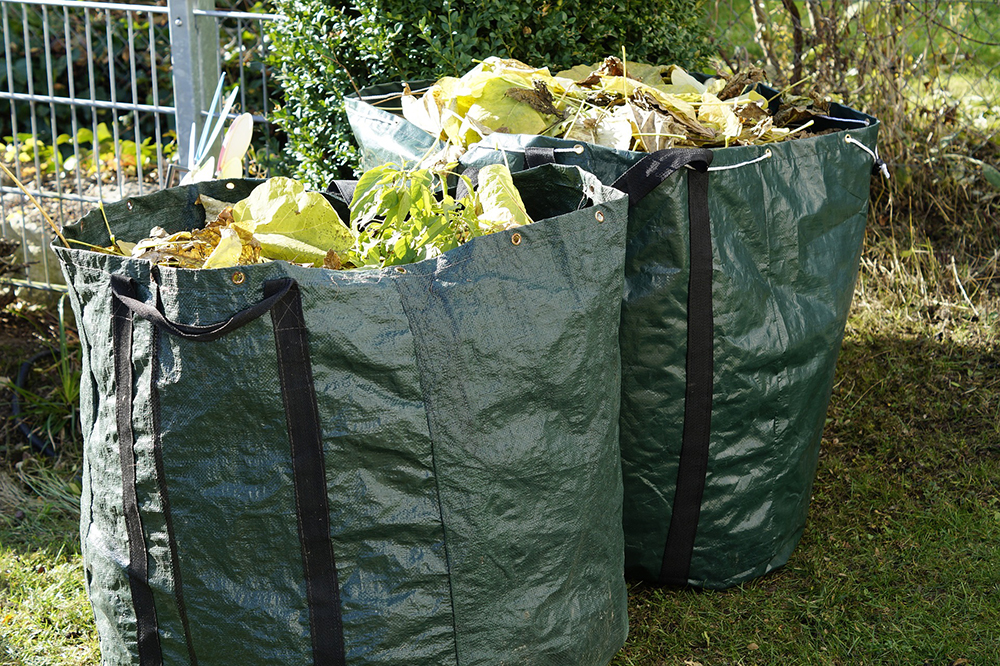
The Garden
They say you shouldn’t judge a book by its cover, but if you’re planning on selling your home, chances are a potential buyer’s first impression of your house will be of the garden. Builders are notorious for leaving behind materials and other kinds of junk that can prove tough to get rid of. If there is quite a lot of debris to remove such as concrete or wood offcuts, calling in a rubbish removal service is a great option as these materials cannot be disposed of by your weekly household waste removal services. Thoroughly sweeping the driveway is essential. For hard-to-remove stains, using a pressure hose may be necessary.
The Next Day Cleanup
This is perhaps the most important tip. No matter how thorough your first cleanup, we guarantee you will always find something the second time around. Start from the beginning and give everything a once over. You will feel much better knowing that all has been checked twice.
Renovating your home is a huge task from start to finish, and a thorough cleanup is a nice way to wrap up the process so you can begin looking ahead. Hopefully these 6 tips help make the process a little easier for you.
That’s amazing, I was about to change my room home, your article helped me alot… Keep writing such type of blogs in the future too…